Hololens Tutorial: Let it snow!
With the spirit of holidays fast approaching, I decided to write a short tutorial on how to add snow to your apartment. In Hololens of course 🙂
This tutorial assumes you have a Hololens and it’s ready for development. If you haven’t paired your device yet, please follow these instructions on how to do so here.
1. Getting started with HoloToolkit
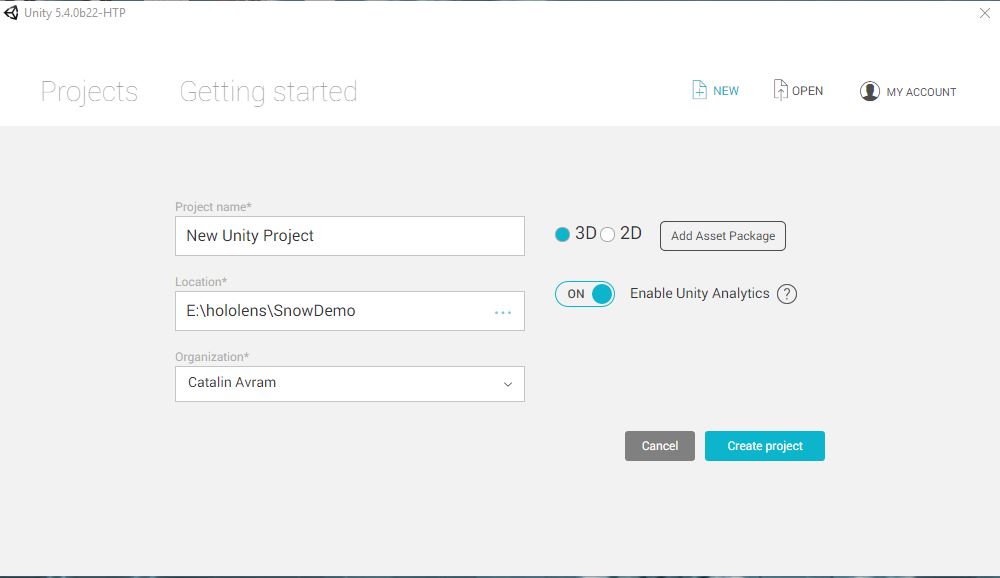
First, let’s Open Unity and create a new 3D project. Please be aware that you need at least Unity 5.4 HTP (Hololens Technical Preview) or Unity 5.5.
The next thing to do is to import the HoloToolkit, which is provided for free by Microsoft. There’s two ways to do this
Using Git – just clone the repository and grab the Unity package
git clone https://github.com/Microsoft/HoloToolkit-Unity.git
OR
Go directly to the GitHub project page and download the unity package file.
Once we have the unity package file for the Holotoolkit let’s import it!
With the Unity project open, click on Asset -> Import Package -> Custom Package and select the downloaded file.
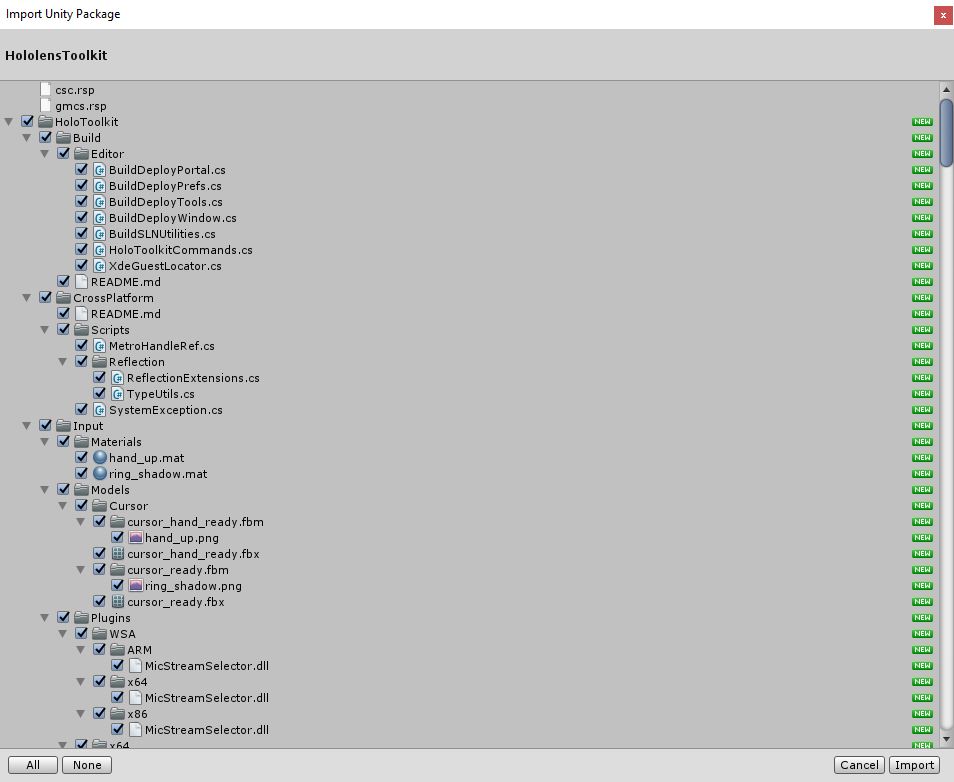
This will prompt you with the dialog to select the files to import. I suggest importing all the files, although you can skip the example ones.
This will basically give you access to all the cool toolkit tools for Hololens. In this tutorial we will only use the Hololens camera and the voice activation.
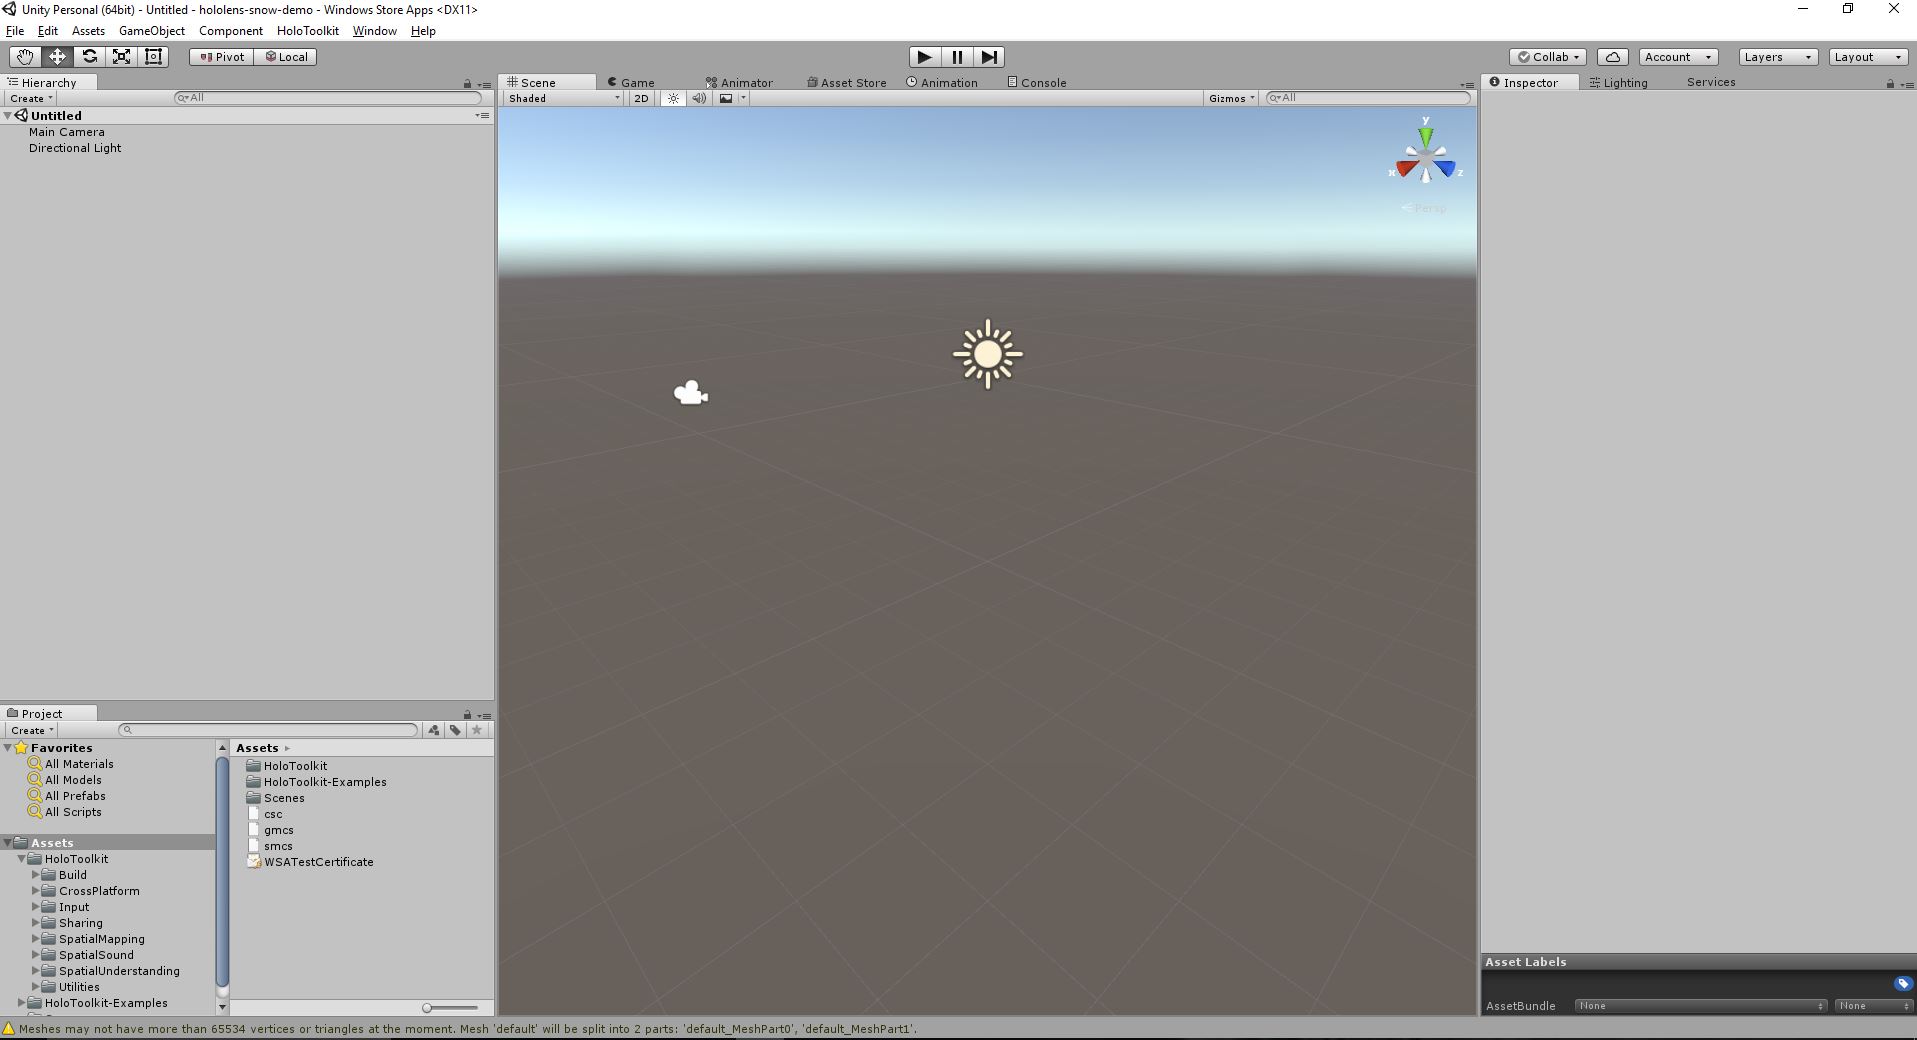
Now your scene should look like this:
2. Setting up the Hololens Scene
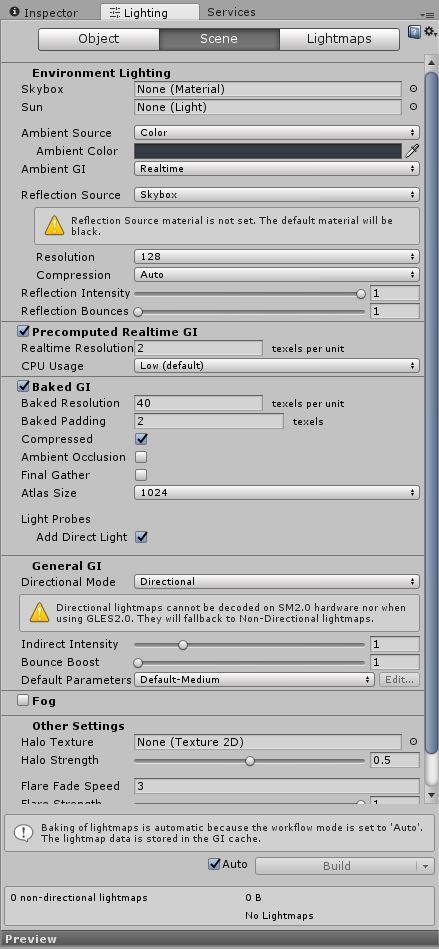
First, select the “Main Camera” and remove it. We will replace it with the Hololens Camera. Next, since we don’t need a sun and ambient light, select “Lighting” from the upper-right hand side and remove the skybox. Also, from the ambient source drop down select “Color”. Your pane should look like this:
Now let’s add the Hololens Camera.
From the Assets folder, navigate to HoloToolkit -> Utilities -> Prefabs and select “Main Camera”. Drag and drop it on the scene, and make sure its position is reset to origin.
Now let’s add a simple 3D cube, with the following properties so we can test our scene:
Now save your scene and we’re ready for the first test!
3. First Deployment to Hololens!
Holograms are expensive to render, so let’s tune down the graphics to make sure we get the best experience possible.
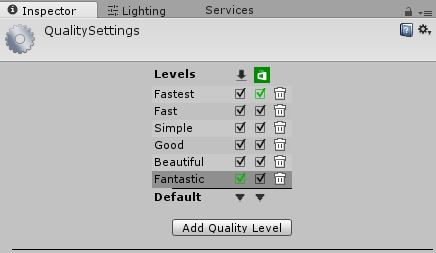
Go to Edit -> Project Settings -> Quality
On the right hand side you will see a menu similar to this:
Under the Windows Store logo, at the bottom, click on the upside-down arrow and select “Fastest”.
Great, now let’s set up the build settings.
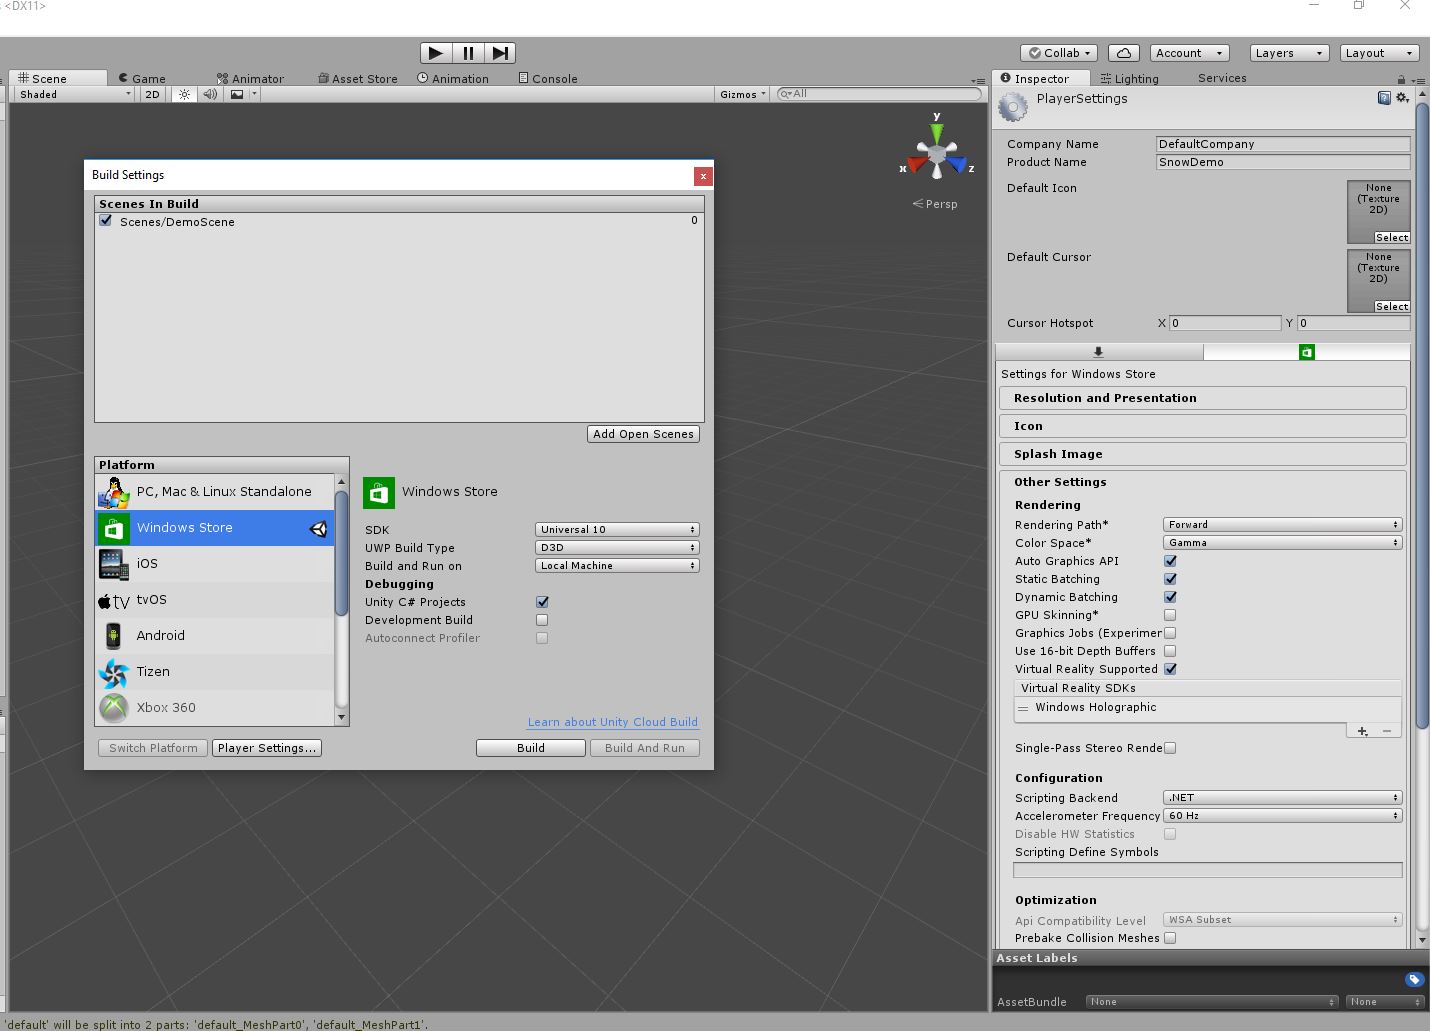
Go to File -> Build Settings
In the popup, select Windows Store and click “Switch Platform”. Add the current scene by clicking “Add Open Scenes”.
From the drop down menus, select the following options:
SDK: Universal 10
UWP Build Type: D3D
Build and run on: Local Machine
Select C# Project option.
On the right hand side, find “Other Settings” and select “Virtual Reality Supported”.
Phew!!! Ok, now click “Build”, we are not done yet 🙂
You will be prompted with selecting an output folder. Best practices says to create a new folder called “App” inside your project and build in there.
Wait for Unity to finish building. When it’s done, you will be prompted with a window. Navigate into the newly created ‘App’ folder and find the Visual Studio Solution file (In my case is SnowDemo.sln).
Double click to open. This will open the Visual Studio project.
At the top, please make sure you have selected “Debug”, x86 as a platform and “Remote Machine” (which you should have configured from Step 1).
Now for the moment of truth! Make sure Hololens is running, and press Ctrl + F5 to start without debugging!
If everything goes well you should see this in your Visual Studio console:
Deployment complete (0:00:14.434). Full package name: "SnowDemo_1.0.0.0_x86__pzq3xp76mxafg"

========== Build: 3 succeeded, 0 failed, 0 up-to-date, 0 skipped ==========

========== Deploy: 1 succeeded, 0 failed, 0 skipped ==========

4. Adding the Snow
Awesome! We have a cube in our living room now! It’s time to add the snow.
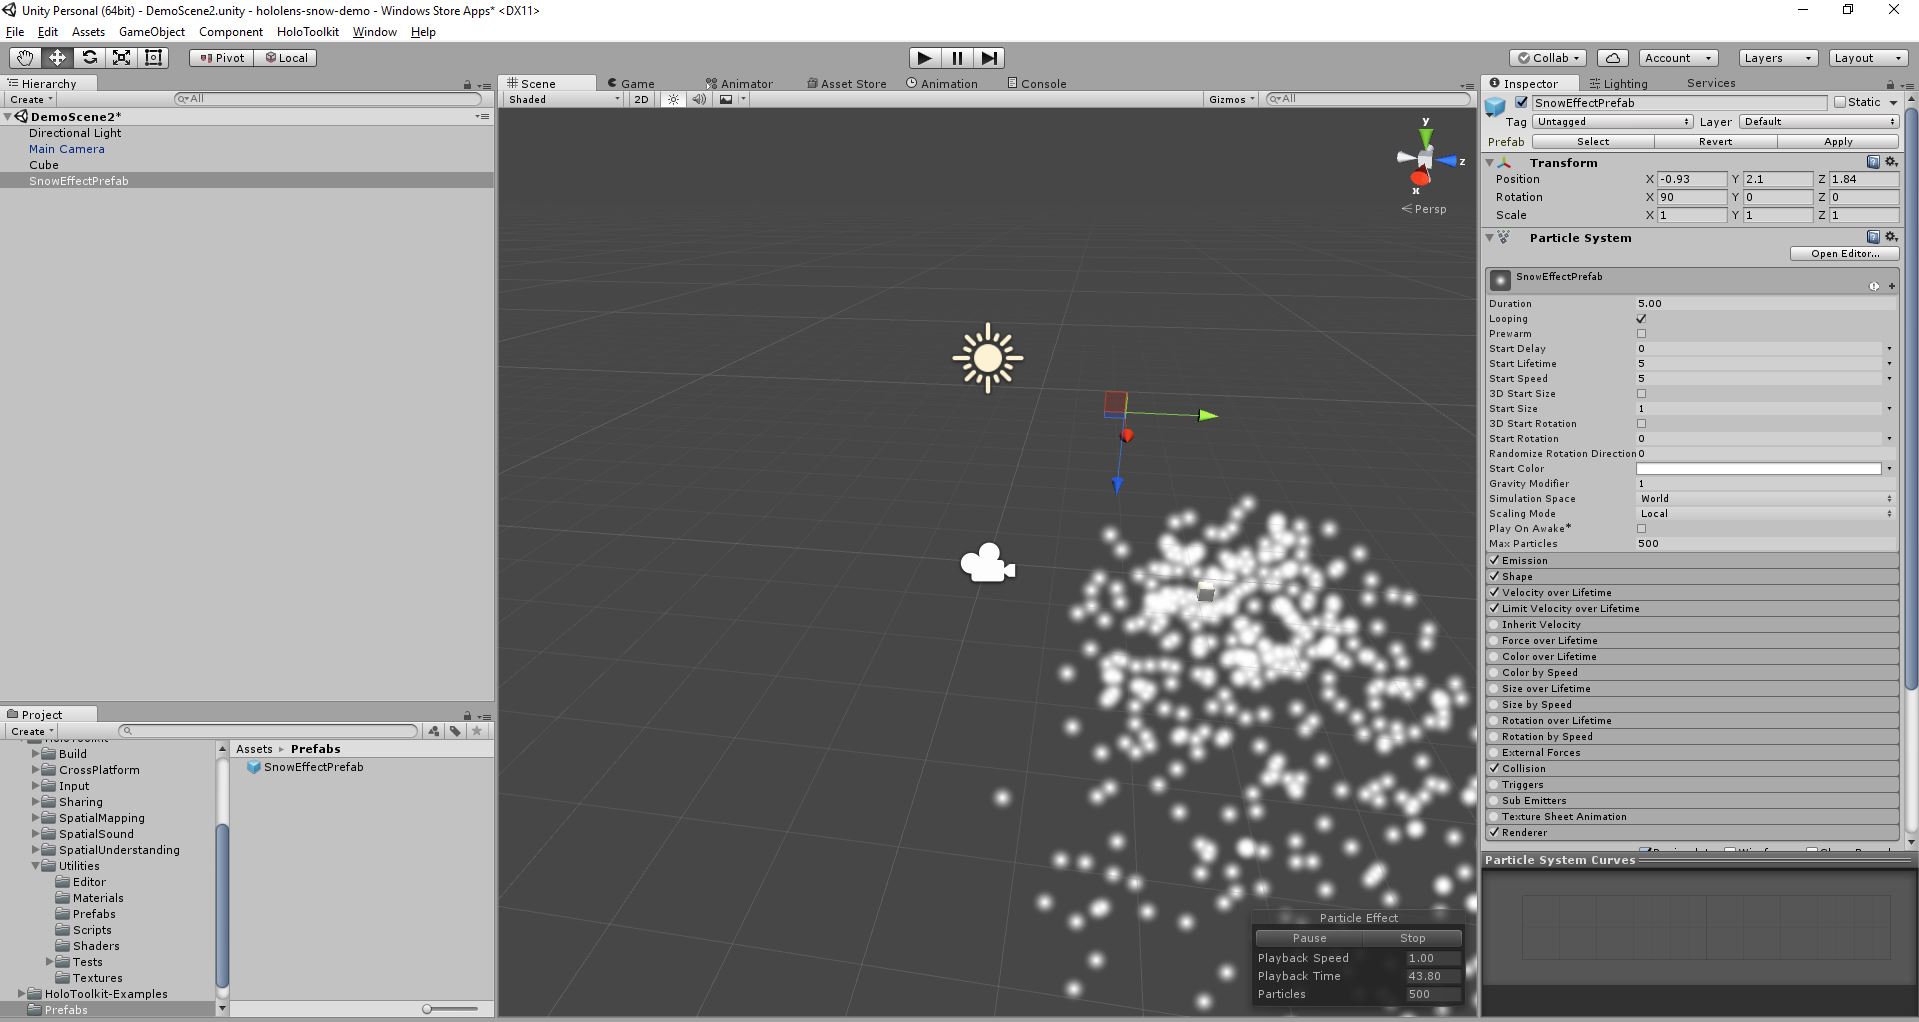
The snow is basically a particle emitter with the following configuration:
Duration: 5.00
Looping
Start size: 1
Max Particles 500
Emission
Rate: 200
Shape
Cone
Angle: 25
Radius: 2
Length: 5
Emit from: Volume
Velocity over Lifetime
x: 0.1 y: 0.1 z: 0
Space: Local
Limit Velocity over Lifetime
Separate Axis – YES
x: 1 y: 1 z: 1
Space: Local
Dampen 1
Collision
World
Collision Mode 3D
Dampen: 1
Bounce: 1
Max Kill Speed 10000
Radius Scale: 1
Collides With: Everything
Renderer
Render Mode: Billboard
Cast Shadows: Off
Min Particle Size: 0.01
Max Particle Size: 0.03
If you don’t want to type all that stuff, just use the pre-fab that comes with the project (github link at the end)
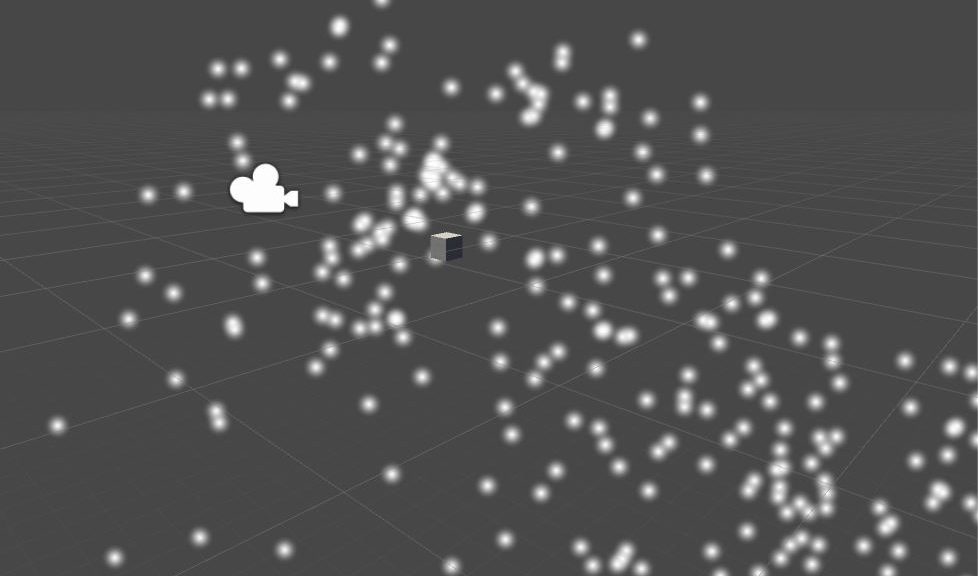
So now your scene should look like this
Now for the final moment of truth!
Rebuild and run the app on Hololens!

How cool is that? The holiday spirit right into your living room! All the source files can be found on GitHub here:
https://github.com/papiot/hololens-snow-demo
If you found this tutorial useful, please star the repository 🙂
